
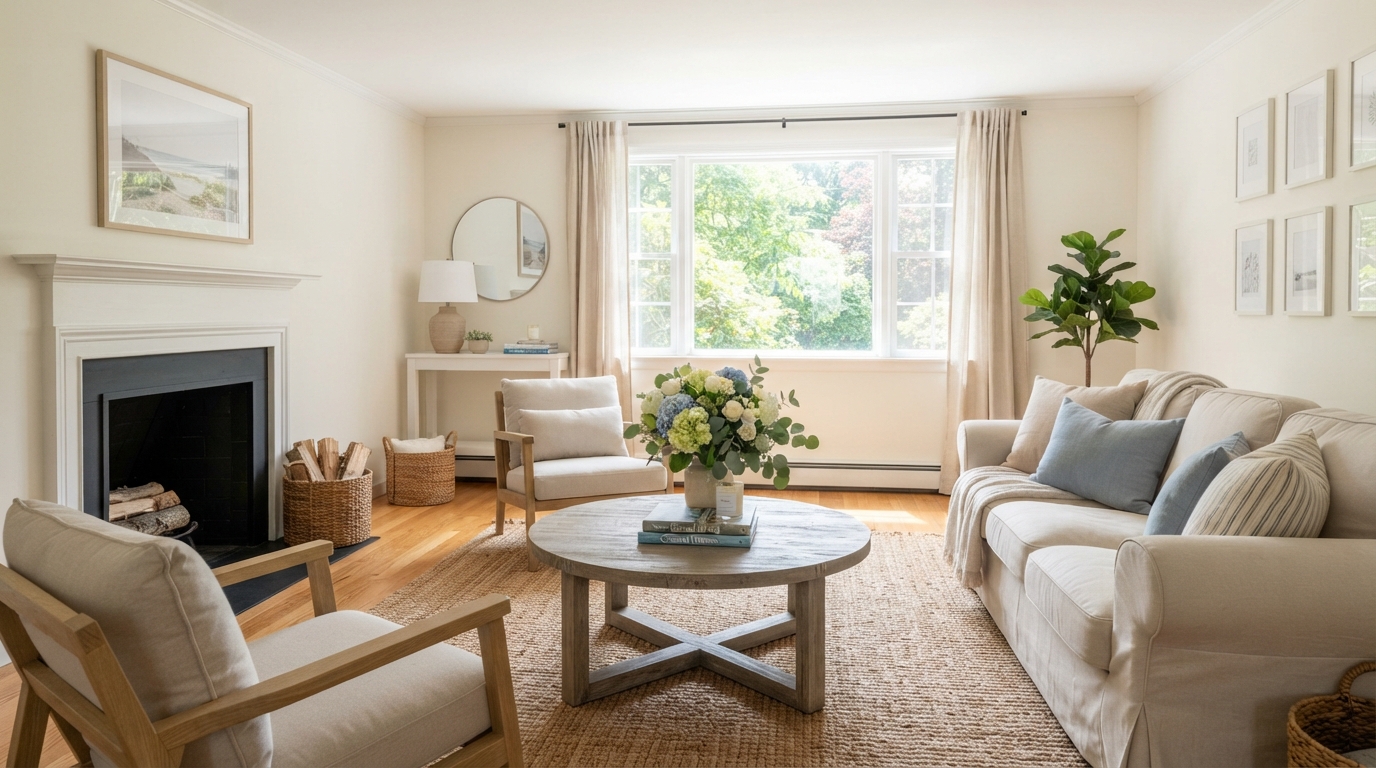
How to Stage a Home on a Budget: The North Shore Seller's Guide
Professional staging costs thousands. Here's how to get the same buyer response for under $500 — declutter, depersonalize, and let your home shine.
The Short Version
- •Decluttering is free and the most powerful staging move. Remove 30–50% of your belongings so rooms feel spacious.
- •Depersonalize. Pack away photos, collections, and bold decor so buyers picture themselves living there.
- •A gallon of neutral paint transforms a room for $40. Soft whites and greiges read as clean and move-in ready.
- •Deep clean like you've never cleaned before. A spotless home signals a well-maintained home.
- •Rearrange, don't replace. Float furniture away from walls, create conversation areas, and open walkways.
Staging Isn't About Spending — It's About Editing
When North Shore sellers hear "staging," many picture a designer truck pulling up with rented furniture and a five-figure invoice. That's one version of staging — and for vacant or high-end homes, it can be worth it. But for the vast majority of occupied homes, the most effective staging costs almost nothing. It's about removing distractions so buyers can see the space, the light, and the potential of your home.
The goal of staging is simple: help buyers imagine themselves living there. Every personal photo, every crowded countertop, every oversized piece of furniture is a small obstacle to that imagination. Your job — and it's a weekend's work, not a renovation — is to clear those obstacles.
Step 1: Declutter Ruthlessly (Free)
This is the single highest-impact staging move, and it costs nothing. Walk through your home and remove 30–50% of what's visible. Pack up books, knickknacks, countertop appliances, seasonal decor, and anything you won't need in the next 60 days. Box it, label it, and store it off-site if possible — a rented storage unit is cheaper than a price reduction.
Pay special attention to horizontal surfaces: countertops, tables, mantels, and shelves. Clear them almost entirely. A kitchen counter with a coffee maker and a bowl of fruit reads as spacious. A kitchen counter covered with appliances, mail, and canisters reads as cramped — even if it isn't.
Step 2: Depersonalize (Free)
Buyers need to picture their own life in your home — and that's hard when your life is on every wall. Pack away personal photos, personal collections, awards, religious items, and anything politically charged. This isn't about hiding who you are; it's about giving buyers a blank canvas. A few neutral pieces of art are fine. A gallery wall of household vacations is not.
Step 3: Paint in Neutrals ($40–$60 per room)
If you do one paid thing, make it paint. A gallon of quality interior paint covers a room and costs about $40. Soft whites, warm greiges, and light warm grays are universally appealing and make spaces feel larger and cleaner. Cover bold accent walls, dark colors, and any scuffed or marked walls. This single investment returns more in buyer perception than almost anything else you can buy.
Step 4: Deep Clean Everything ($50–$150)
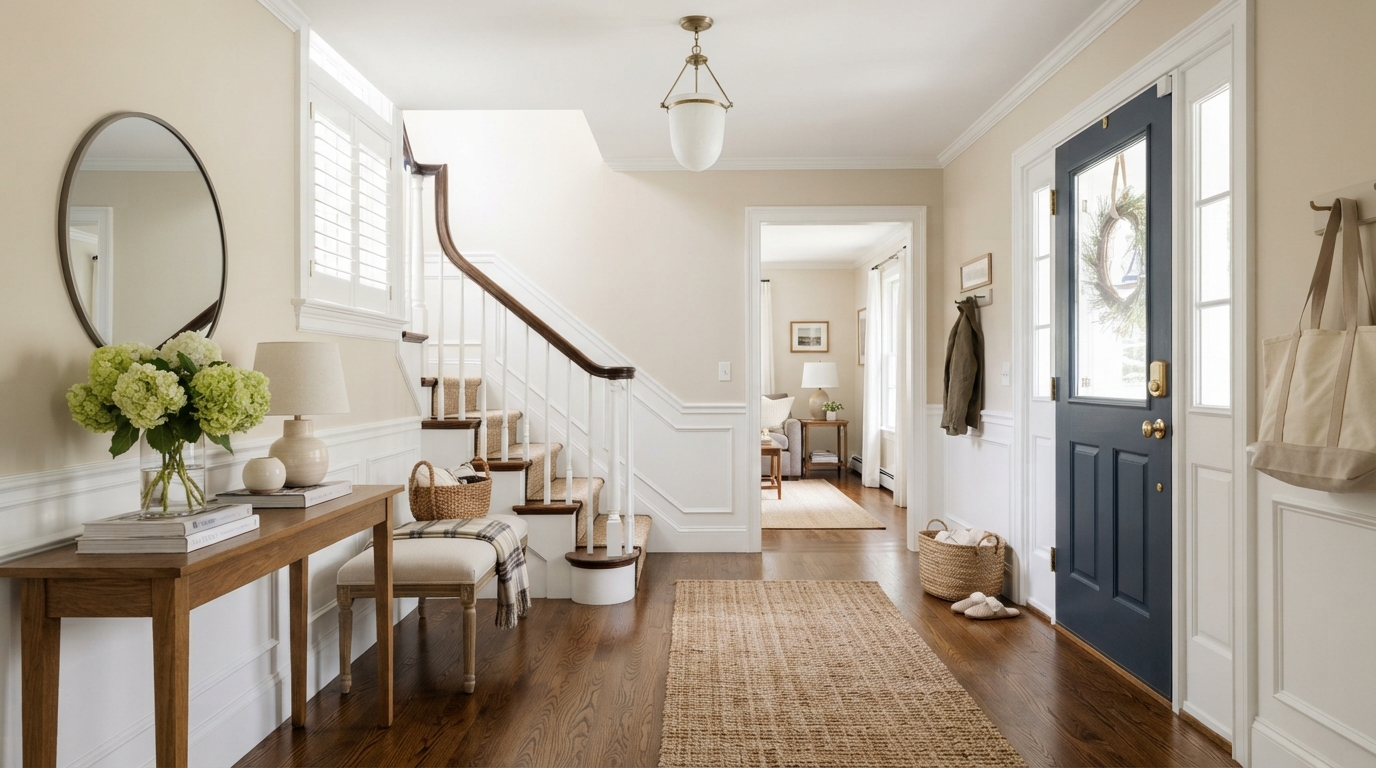
A spotless home reads as a well-maintained home. Clean windows inside and out (this also maximizes light), scrub grout, polish fixtures, clean baseboards, and shampoo carpets if needed. If your budget allows, hire a professional cleaning service for a one-time deep clean before photos — it's money well spent. Don't forget the outside: power-wash the siding, walkway, and deck.
Step 5: Rearrange Your Furniture (Free)
Most homes have too much furniture, and it's pushed against the walls. Pull seating into the room to create conversation areas. Remove pieces that block walkways or make rooms feel cramped. In the primary bedroom, remove anything that isn't the bed and two nightstands. In the dining room, leave the table and chairs — clear the surface. The rule: if it makes the room feel smaller, it goes.
Step 6: Light It Up ($20–$50)
Dark homes don't photograph well and feel smaller in person. Replace any burned-out bulbs, and swap dim bulbs for brighter, daylight-balanced LEDs. Open all blinds and curtains before showings. Turn on every light — even during the day. A bright home feels welcoming and larger.
Step 7: Add a Few Affordable Touches ($50–$150)
A small budget goes a long way with a few finishing touches: fresh white towels in the bathroom, a new shower curtain, a bowl of lemons or apples on the kitchen counter, fresh flowers on the dining table, and a new neutral duvet cover for the primary bed. These small investments make rooms feel intentional and cared-for.
The Rooms That Matter Most
If time or budget is limited, focus on the three rooms buyers remember: the living room, the primary bedroom, and the kitchen. These are the spaces buyers linger in and the ones that show up most in listing photos. A well-staged living room and primary bedroom can carry the entire impression of your home.
The Bottom Line
You don't need a designer or a big budget to stage your home effectively. You need a weekend, a few gallons of paint, a storage unit, and the discipline to edit. The homes that sell fastest and for the most money aren't the most decorated — they're the cleanest, brightest, and most neutral. When in doubt, remove something. For a tailored staging plan for your specific home, see our high-ROI staging tips and schedule a pre-listing consultation.