
What Is a Final Walk-Through? The Last Step Before You Get Your Keys
You've made it through inspections, negotiations, and the P&S. Now there's one more critical step before closing — the final walk-through. Here's exactly what to check.
The Short Version
- • The final walk-through happens 24–72 hours before closing — it's your last visit before the home is yours.
- • It's not a second inspection. You're confirming the home is in the same condition and agreed repairs are done.
- • Bring your contract, repair addendums, inspection report, and a checklist.
- • Check repairs, appliances, fixtures, cleanliness, and that nothing new is broken.
- • Never skip it. Once you close, you lose all leverage to fix problems.
What Is a Final Walk-Through?
The final walk-through is exactly what it sounds like — your final walk through the property before you legally own it. It typically happens 24 to 72 hours before your closing date, after the seller has moved out and the home is (or should be) vacant.
This is not a second home inspection. You're not hiring an inspector or testing every outlet. You're simply confirming two things: (1) the property is in substantially the same condition as when you made your offer, and (2) any repairs the seller agreed to make have been completed.
It's a quick visit — usually 15 to 30 minutes — but it's one of the most important steps in the entire transaction. Skip it, and you could discover on moving day that the seller took the chandelier, left a pile of debris in the garage, or never fixed the leaky roof they promised to repair.
Why the Final Walk-Through Matters
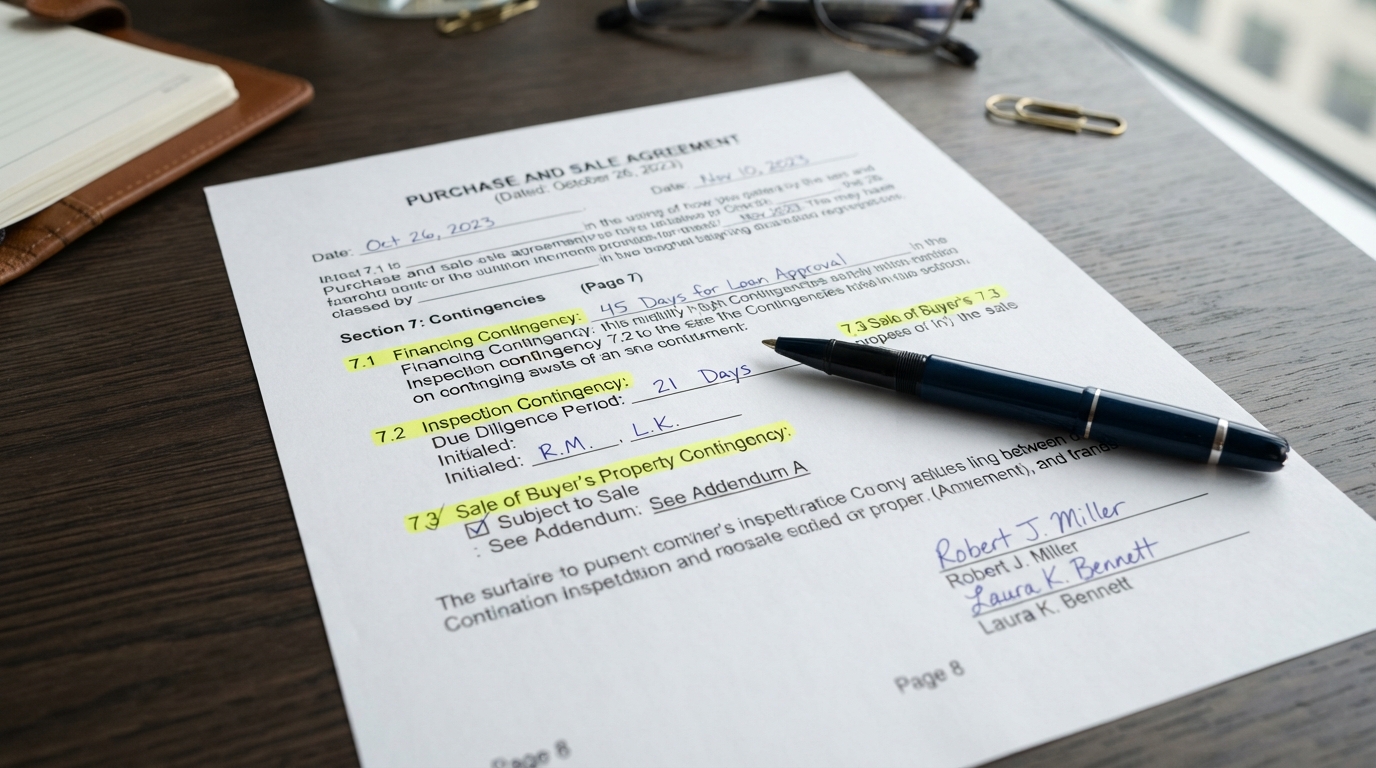
In Massachusetts, most purchase agreements include a clause that the property will be delivered in the same condition as when the offer was made — normal wear and tear excepted. The final walk-through is how you verify that's true.
Once you close, the property is yours. If the seller damaged a wall during move-out, took an appliance that was supposed to stay, or left behind a garage full of junk, your options become much more limited. You can ask nicely, but your legal leverage essentially disappears at the closing table.
The walk-through gives you one last opportunity to catch problems while you still have the power to delay closing, request a credit, or require the seller to fix the issue before you sign.
What to Bring to the Walk-Through
Come prepared. Your agent should bring most of these, but it helps if you have copies too:
- Your purchase agreement — to confirm what's included in the sale
- Repair addendums — any agreements for seller repairs or credits
- Your home inspection report — to reference what was flagged and what was supposed to be fixed
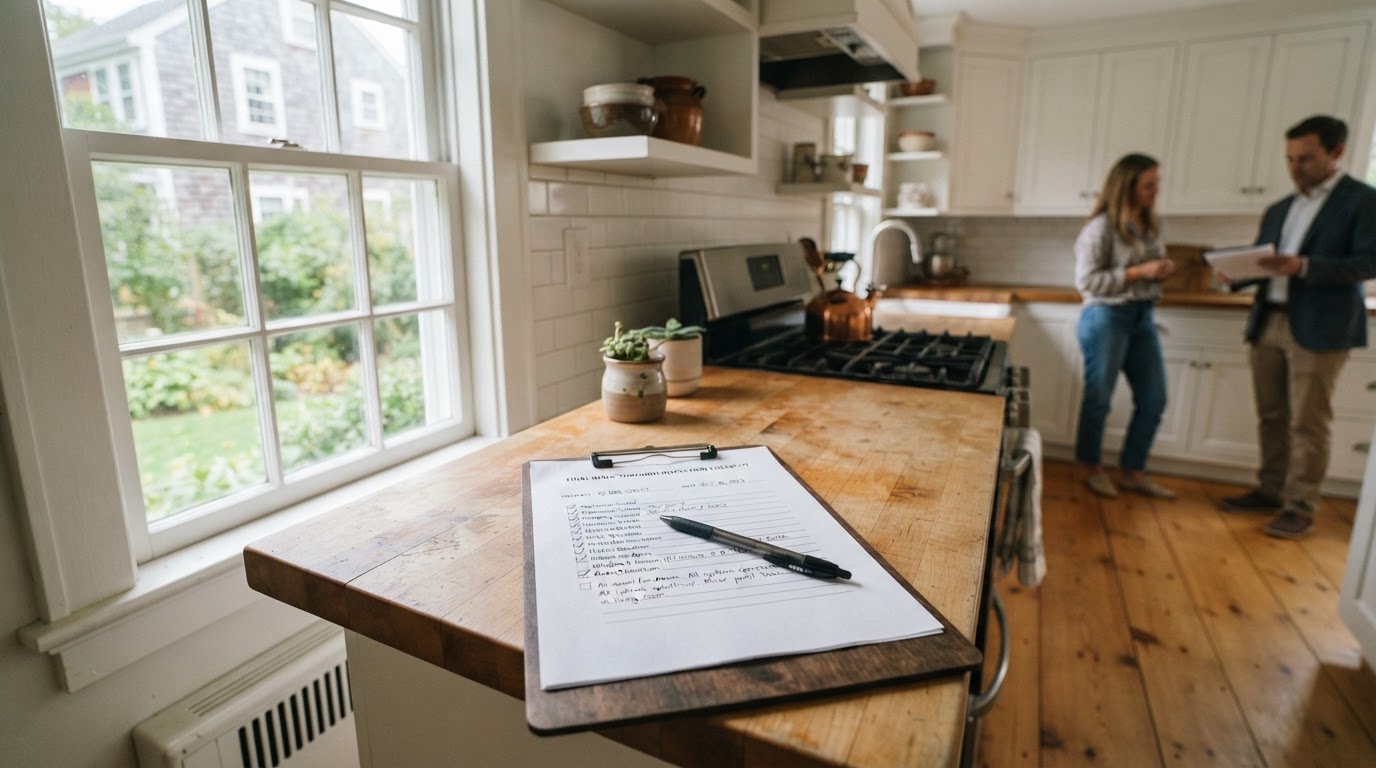
- A checklist — so you don't forget what to look for
- Your phone — to take photos of any issues
- A light — a phone flashlight works fine for checking dark corners
The Final Walk-Through Checklist
Here's exactly what to check, room by room:
Exterior
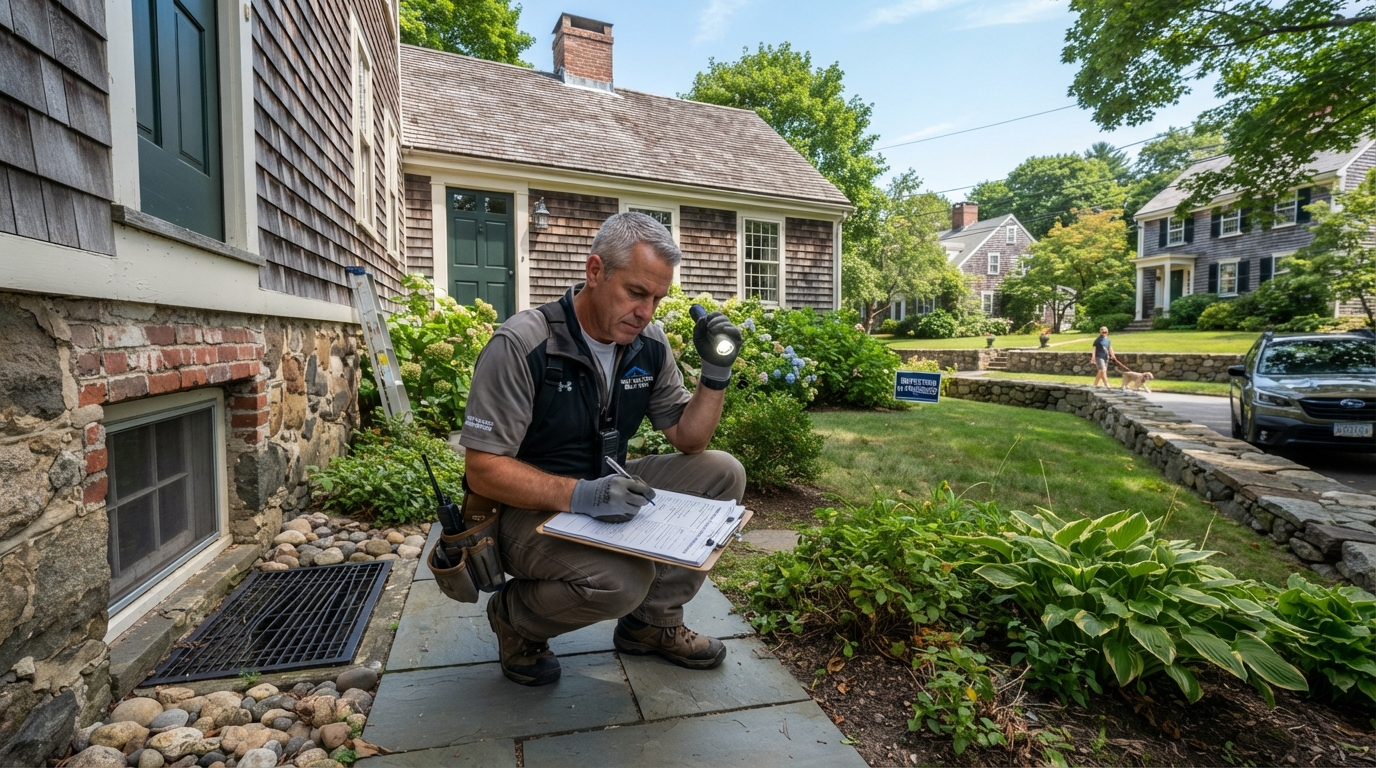
- Walk around the entire home — any new damage to siding, roof, or foundation?
- Check the yard — has the seller removed all personal property and debris?
- Confirm any agreed exterior repairs (roof, gutters, siding) are complete
- Check that outdoor items included in the sale (shed, fencing, lighting) are present
Interior — Room by Room
- Turn on every light — do they all work?
- Run every faucet and flush every toilet — any leaks or drainage issues?
- Check ceilings and walls — any new water stains or damage since the inspection?
- Open and close every window and door — do they all function and lock?
- Test the HVAC — turn the heat on, then the AC, and confirm both respond
- Check that all appliances included in the sale are present and functioning
- Confirm all fixtures (lighting, ceiling fans, window treatments) included in the sale are still there
- Check the basement and attic — any signs of new water intrusion or pest activity?
Agreed-Upon Repairs
- Request receipts and invoices for all repairs the seller agreed to make
- Visually confirm each repair was completed
- For major repairs (roof, electrical, plumbing), ask if there's a warranty
- If repairs aren't done or look incomplete, document with photos
Seller's Belongings and Cleanliness
- The home should be vacant or nearly vacant
- No personal property, furniture, or debris should remain
- Massachusetts contracts typically require the home to be "broom clean"
- Check the garage, basement, attic, and shed — these are where sellers leave things behind
Keys and Access
- Confirm all keys are accounted for — front door, back door, garage, mailbox
- Test all garage door openers
- Confirm alarm codes and any smart home devices are transferred
- Check that the seller has left no vehicles, trailers, or large items on the property

What to Do If Something Is Wrong
If you discover a problem during the walk-through, don't panic — but don't close until it's resolved. Here's what to do:
If Repairs Aren't Done
If the seller agreed to repairs and they're incomplete or poorly done, you have three options:
- Request a credit at closing — The seller gives you a dollar credit to cover the cost of completing the repair yourself after closing. This is the most common solution.
- Delay closing — Push the closing date back until the repairs are completed to your satisfaction.
- Escrow holdback — A portion of the seller's proceeds are held in escrow until the repair is completed, then released.
Do not close until this is resolved. Once you sign, you lose your leverage.
If the Seller Left Items Behind
If the seller left furniture, trash, or personal property:
- Document everything with photos and video
- Notify your agent immediately — they'll contact the seller's agent
- Request a holdback at closing to cover the cost of removal
- Or delay closing until the property is cleared
If Something Is Missing
If an appliance, fixture, or item included in the sale is gone:
- Check your purchase agreement — was the item specifically listed as included?
- If yes, request the seller return it or provide a credit for its value
- If the seller refuses, you can delay closing or seek legal recourse
Final Walk-Through for New Construction
If you're buying a newly built home, the final walk-through serves a slightly different purpose. Instead of checking that the seller didn't damage anything, you're confirming the builder completed everything in your contract.
Create a "punch list" — a document noting any incomplete or deficient items. Common issues include missing trim, scratched countertops, non-functioning fixtures, incomplete paint, or missing landscaping. Your builder should agree to a completion timeline, and funds can be held in escrow until the punch list is finished.
Final Walk-Through for Sellers
If you're the seller, you have a role here too. To ensure a smooth walk-through and closing:
- Complete all agreed repairs before the walk-through and keep all receipts
- Remove all personal property — don't leave behind furniture, paint cans, or junk
- Leave the home broom clean — it's typically required by the contract
- Leave all included items — appliances, fixtures, window treatments, garage door openers
- Leave all keys, remotes, and codes on the kitchen counter or with your agent
- Turn off utilities only after coordinating with your agent — the buyer needs to test systems
The Bottom Line
The final walk-through is your last line of defense. It takes 15 minutes, it's free, and it can save you thousands of dollars and weeks of headaches. Never skip it — even on a home that seems perfect, even on new construction, even when you're in a rush to close.
Bring your contract, bring your checklist, bring your phone for photos, and bring your agent. If something is wrong, speak up before you sign. Once those keys are in your hand, the home is yours — along with any problems the seller left behind.